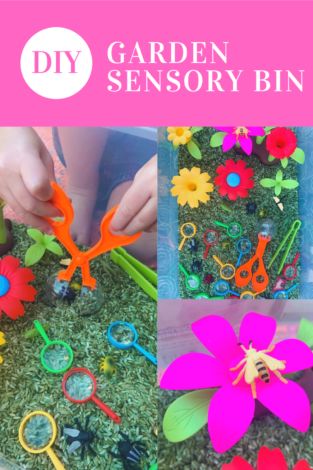
Sensory bins are an amazing, magical thing. Okay, maybe they’re not magic, but they’re pretty close. They keep my toddler occupied with constructive, imaginative play and learning while I am working at home, and are one of the few things that allow me to actually get anything done. Sensory bins help with SO many different practical skills while allowing children to explore and learn through hands-on tactile play that engages their senses. They can be put together quickly and simply with a few basic supplies, or made to fit different themes that your child is interested in.

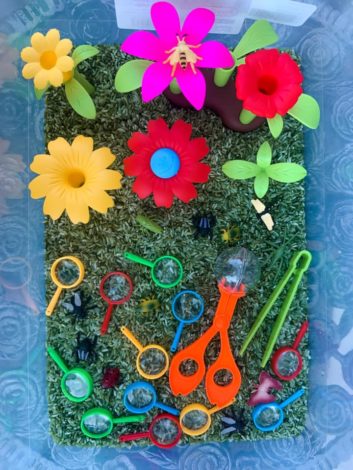
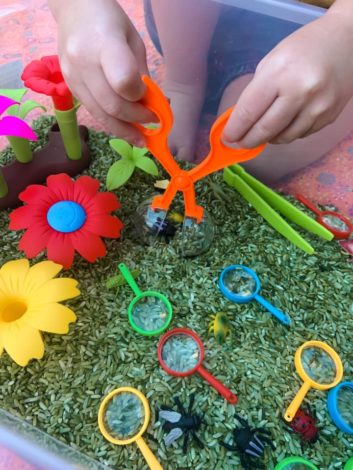
I like to create sensory bins that go along with a specific topic that we have been learning about or a book we have been reading, such as a “Little Blue Truck” mud sensory bin that we did once, or a frog pond sensory bin I created when my daughter was learning about frog life cycles. My favorite one we have done recently, though, is this garden sensory bin that I put together when I was reading “How Do Flowers Grow?” to my 4-year-old several times every day, as an extension activity which she has spent HOURS playing with, talking about how plants grow and what they need to grow, how insects help pollinate flowers, and more.

I got most of the supplies from Amazon (of course), and for this one I used a 15 quart storage bin with locking handles so that I can keep it all contained and pull it out anytime she wants to play with it. Usually our sensory bins are temporary set-ups and I reuse the same bins each time, but I wanted one that would be ready to go at all times.
Supplies:
- 15 quart storage bin
- Small plastic bug toys
- Magnifying glass for examining the bugs
- Toy tweezers, bug catcher, and other tools for fine motor skills and exploration
- Flower garden building toys
- White rice
- Vinegar
- Food coloring
Instructions:
This is such a simple bin. I first mixed a few tablespoons of vinegar with a bit of the food coloring (I used moss green gel coloring from Wilson, but any green food coloring will work!) and then poured the mixture into a large zip top bag along with the rice and mixed it up really well. I then poured it into a large baking dish to let it dry – this is a pretty quick process. Once it was fully dry, I poured the rice into the storage bin and added all of the toys and tools. That’s it!

We love sensory bins for the independent play, multi-sensory experience, and fine motor skills benefits, and they can be adapted for any age. Check out our other posts with ideas for sensory bins and other activities for children ages 0-6 months, 6-12 months, and 12-18 months, as well as non-food sensory bins and even bathtime sensory play.
If you create your own garden sensory bin, let us know! We would love to hear from you!
